Students have heard me utter those words many times while teaching alternative processes. With so many variables to control with gum printing, it makes consistency hard to come by at times.
It’s been a few months since I’ve printed but I left feeling confident. Having this week off, I decided to go back into the darkroom to print some old images. I spent the weekend making negatives and mixed up new chemicals—I was ready. However, I went to turn on my exposure unit only to discover that the fluorescent black light bulbs would not come on. After spending half the day fussing with it, I went to Lowes to buy four new light fixtures to replace the old ones I had (which were probably about 10 years old). I installed the new fixtures and now the lights work fine. Problem solved—not quite.
After developing the first layer, I realized my exposure times were off (due to the new fixtures no doubt—since it was the only variable that had changes since my last printing session). Gum always finds a way to keep me humble and otherwise frustrated.
Since printing full color gum prints uses multiple negatives (Cyan, Magenta and Yellow), a system for registering is required.
I start with the Cyan negative first (since it prints the darkest) by cutting off the four corners of the negatives.
Next, I lay the Cyan negative on top of the Magenta negative on a light table and then, with a Lupe, I line up the registration marks.
Working from opposite corners, I tape each corner of the Cyan negative to the Magenta negative after they are aligned.
Using a pushpin, I punch a hole in the center of each registration mark.
The Cyan negative is now registered to the Magenta negative. I then remove the Cyan negative and repeat the procedure with the Yellow negative. Once all three negatives are registered, the next step is to register the negatives to the paper. I usually start printing with the Magenta layer followed by the Yellow negative and finally the Cyan negative. I place the Magenta layer on the sized paper and, working from opposite corners, punch a hole through the negative’s pre-punched registration marks into the paper.
I tape the negative to the paper and remove the pushpins.
Now I’m ready to place the print with the attached negative into the contact-printing frame.
In alternative processes, the print is only ever as good as the negative (film or “desktop” negatives). Gum prints require the negative to be the same size as the final print; which was a challenge (to say the least) using traditional darkroom methods. With film, density (the dark and light portions of the film) and contrast (distinct separation of tonal values) are controlled by exposure and development. The “Characteristic Curve” of film illustrates the increase in negative density as exposure and development increases. The three portions of the curve represent the different areas of the negative that shows detail: the “TOE” portion are the light areas in the negative and represents the shadows, the “STRAIGHT-LINE PORTION” are the midtones and the “SHOULDER” portion are the dark areas in the negative and represent the highlights in final image. The overall “curve” of each negative could be manipulated by adjusting (increasing or decreasing) the exposure and/or development of the film.
Digital technology (Adobe Photoshop and Epson desktop printers) has made it possible to produce quality, consistent, predictable negatives effortlessly. Before I began printing out digital negatives, I had to create a gray scale with ink on Pictorico OHP Premium Transparency Film that was the equivalent to the gray scale with film. Using a Stouffer 21-Step Transparent Guide, I measured the 8 steps that the Gum Bichromate process can print (from #2-#9) with the X-Rite Densitometer Model 331C and came up with a numerical value for each step. I then created a gray scale with wedges of varying percentages of black ink (from 2% to 100%) and with the Densitometer I measured each wedge to come up with a numerical value for the different percentages of black ink. Finally I identified the percentages of black that come close to steps #2-#9 on Stouffer 21-Step Sensitivity guide (give or take .02).
I am now able to apply this information in order to alter or manipulate the density and contrast of digital negatives by simply adjusting the “input” and “output” using “CURVES” in Adobe Photoshop (similar to increasing or decreasing exposure and development with film).
A triple beam scale (or balance) is essential in any alternative process darkroom. On a recent trip to Maine to visit my dad for Father’s Day, we were antiquing in a town about 40 minutes north of Belfast where he lives. Always on the lookout for any hidden treasures (I saw a very sweet 4×5 Crown Graphic in excellent condition with a vintage case and accessories for under $500), I came across an “pre owned” Ohaus scale for $50 (new they’re around $150). It looked like it was never used (no sign of chemical stains or rust) and it’s better than the one I already had since this one has a removable stainless steel shallow dish for easy distribution of chemicals. When I handed over the cash to pay for the scale, he asked “So…what are you going to use this for?” I just laughed.
I’m going to donate the “pre-owned” scale to students at Queens College for the Gum class I’m teaching in the fall.
Gum is susceptible to the many variables that go into the process. In order to identify the variables I can control, I find it easier to separate the process into two parts: the negative (digital darkroom) and the print (wet darkroom).
The process I’ll be describing is what I found that works for me under my specific conditions in order to achieve the results I’m looking for.
DIGITAL DARKROOM
HARDWARE
Computer: MacBook Pro
Printer: Epson Stylus Photo 1400
Ink: Claria High Definition Ink
SOFTWARE
Adobe Photoshop CS5
WET DARKROOM
EXPOSURE UNIT
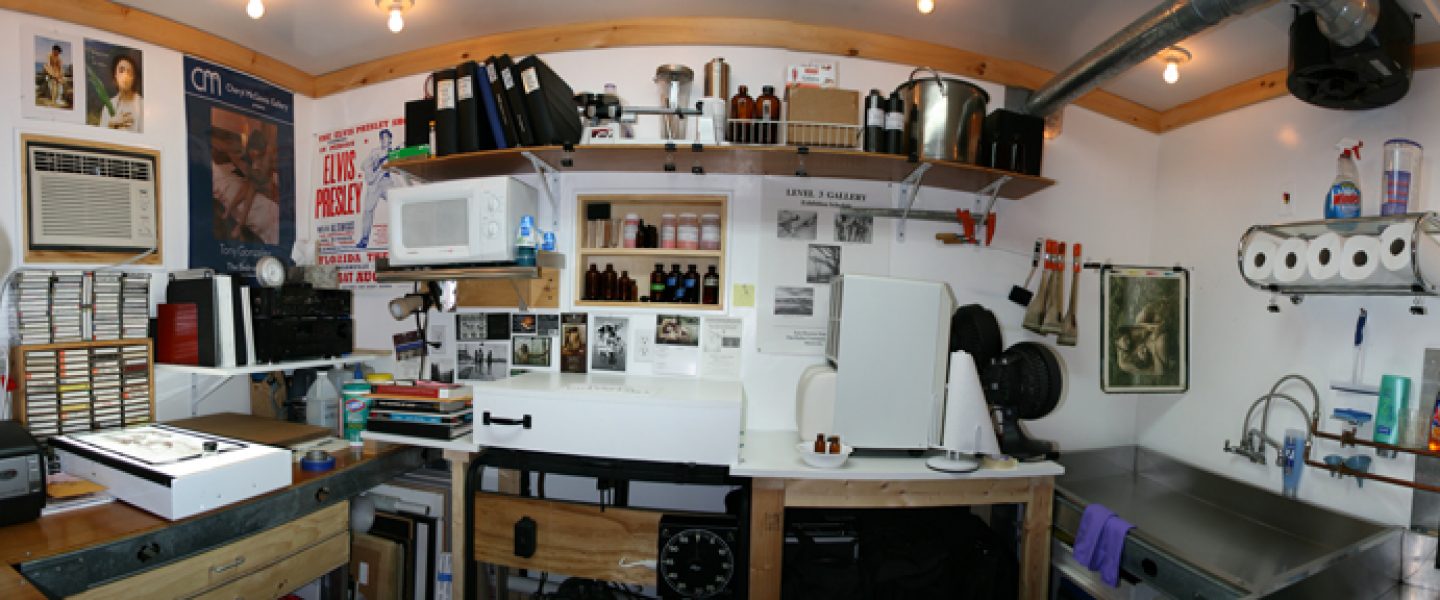
I made my exposure unit using eight Sylvania 20 W 24-inch bulbs (F20T12/350BL/ECO) about 3 inches away from the print. I use a 20×24 inch vacuum table for making the contact prints.
In 2011, I saw the Stieglitz, Steichen, Strand exhibit at the Metropolitan Museum of Art in NYC. Although I have been working primarily with the gum bichromate process for the past ten years, I was blown away by Steichen’s gum prints in the exhibit.
I was inspired and challenged to improve my own process for making gum prints. Immediately upon exiting the gallery, I went to the Met gift shop in the 19th Century wing and bought a small journal. I began writing notes for a new curve for making my gum negatives.
Over the course of the remaining spring semester at Queens College in Flushing, NY (and with the assistance of some exceptional QC students), I made numerous test prints from many negatives using a variety of curves. After lots of trial and error (including a 16 hour darkroom session which ended in a colossal failure), I achieved success in coming up with an air tight workflow for making gum prints which I will teach my students in the fall.
In an effort to share my research and experience with gum printing I also decided to start this blog…